Step-by-step guide for your registration
You would like to register for an SCC EVENTS event? Great!
To get you to the starting line as quickly as possible, we will explain the registration process for our events here.
Note for people with guide runners: If you would like to register a guide to assist you on the course for a registered event, please contact us using the contact form. You can access the contact form here.
Your personal user account
The most important thing for your registration is your personal user account.
You can use your user account to register for all SCC EVENTS events, check your registrations, book additional services, and manage your personal data.
If you do NOT yet have a user account or have an account that was created before May 1, 2020 just keep reading.
You already have a user account that was created after May 1, 2020? Then jump to section “Step 2: Log in with your existing user account”
Step 1: Create a new user account
You must be at least 18 years old to register a user account. Minors can be registered via the account of an adult. When registering a minor, it is mandatory to provide at least one emergency contact.
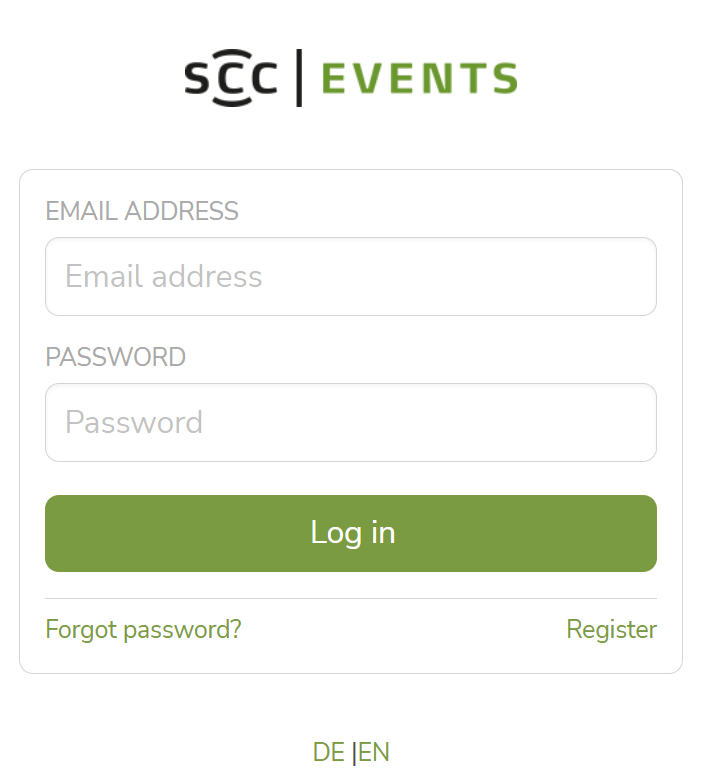
Open the link https://login.scc-events.com/s/login/
Click on the link labeled “Register” in the lower right corner of the login screen.
A new form will open. Fill in all fields as described in the form. Important: All fields are mandatory.
Ensure that your spelling is correct. You will not be able to change the information you enter here later.
Each email address can only be used once and cannot be used for multiple accounts.
Click on the button labeled “Register.” Please do not close your browser window yet.
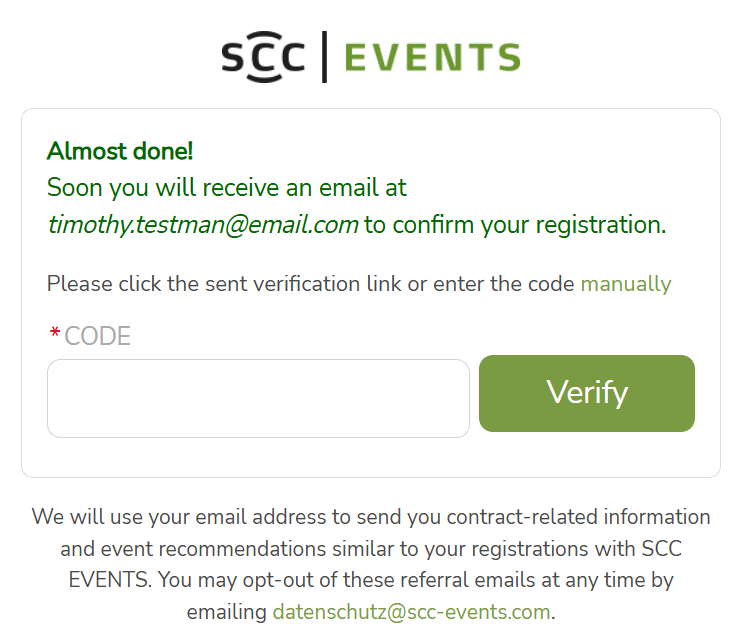
If all data has been entered correctly, a success message with the title “Almost done!” will be displayed.

Next, log in to the mailbox of the email address you just registered. You have received a verification email from SCC EVENTS GmbH. Please also check your spam folder. Open the email.
You can verify your account in two different ways:
- Firstly, you can click on the verification link contained in the email.
- Alternatively, you can manually enter the confirmation code contained in the email into your newly created user account. To do this, simply click on the sentence “Please click the sent verification link or enter the code manually” below the success message “Almost done!”. An input field titled “Code” will open. Enter the code from the email here and click on the button labeled “Verify.”
You have now created your customer account and will be automatically redirected to your account's home page.
Step 2: Log in with your existing user account
Log in to your user account at https://login.scc-events.com/ with your user data.
Step 3: Register for event
Open the “Home” page in the navigation menu.
At the top of the page, you will find the input field for access codes. If you already have an access code for an event, enter it in the “Access Code” input field and click on the “Redeem” button. If you do not have an access code, you can ignore this field and scroll down to the list of available events.
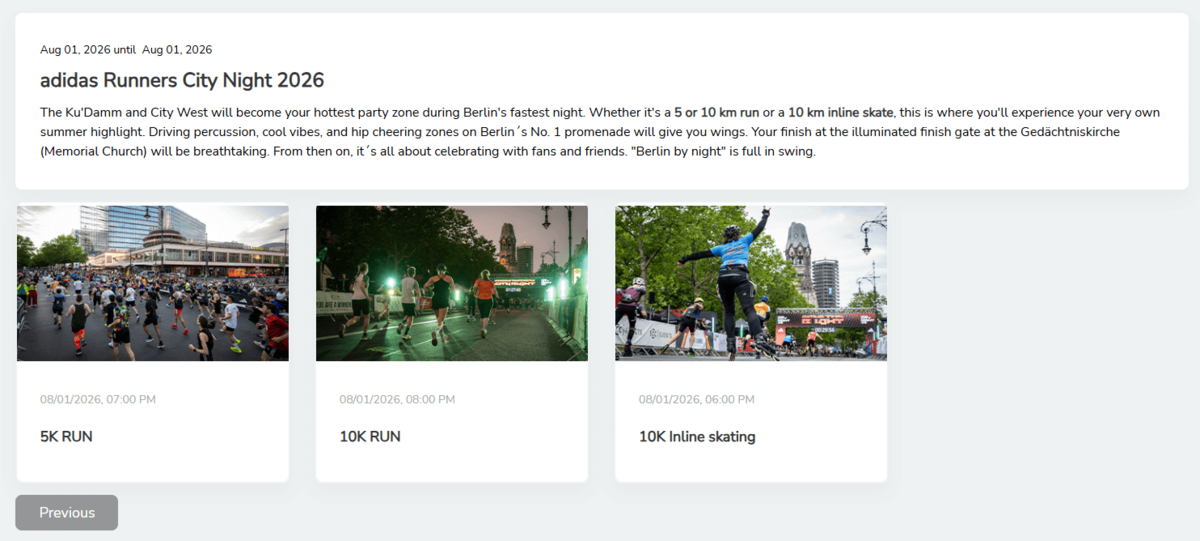
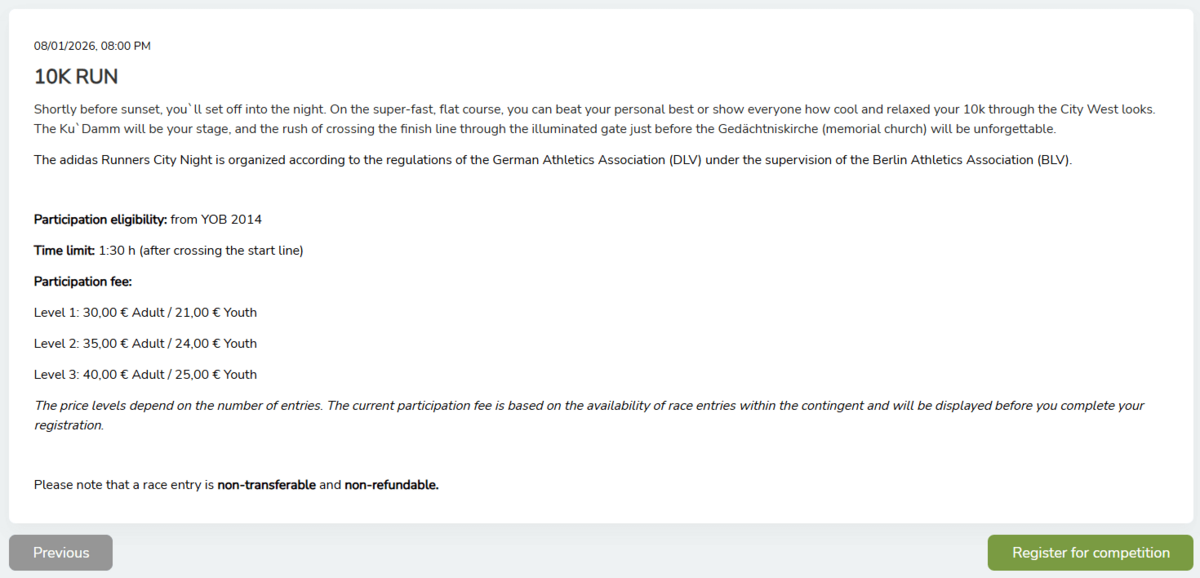
Select the event you would like to register for from the list. Click on the event. A details page will open.
On the details page, select the discipline or specific offer you would like to register for. Another details page will open with information about the selected offer.
On this details page, click on the “Register for competition” button.


Step 4: Enter your data
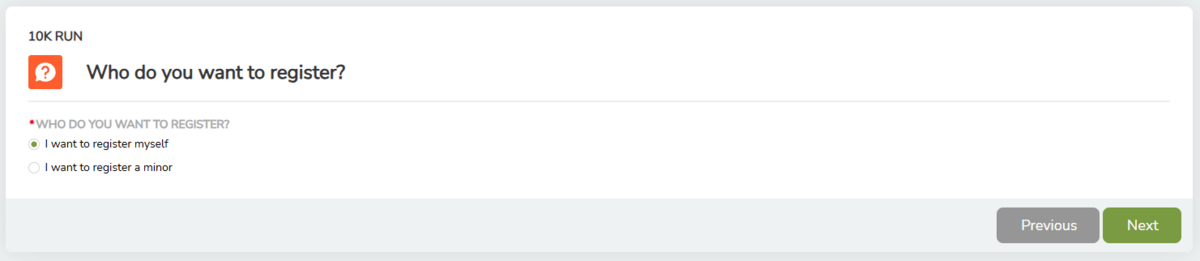
A series of forms will now open, asking you to enter important registration details. You can move back and forth in the registration process using the “Back” and “Next” buttons.
Important: The exact data requested may vary slightly from event to event. Please simply follow the instructions in the registration portal.
The following details are usually requested:
- Who would you like to register? (Here you have the option to register a minor)
- Personal information, such as name and address
- The results of your PAPS test, if available
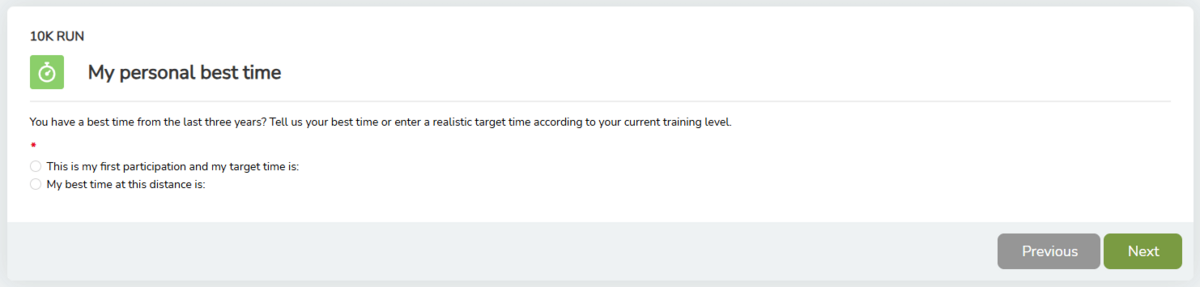
- Your personal best time
- Additional information, such as emergency contacts
- Your voluntary consent to the sharing of photos
- Your association or club
- Your desired tracking settings

Step 5: Product selection
Once all data has been entered, the product selection screen will open. Here you can book additional services.
Certain products, such as the Participation Fee, are already preselected and cannot be deselected.
You can select additional desired products in the selection screen by clicking on the respective tile. Desired products include:
- Certificate
- Bib number magnets
- Medal engraving
- Donations
- Bag storage
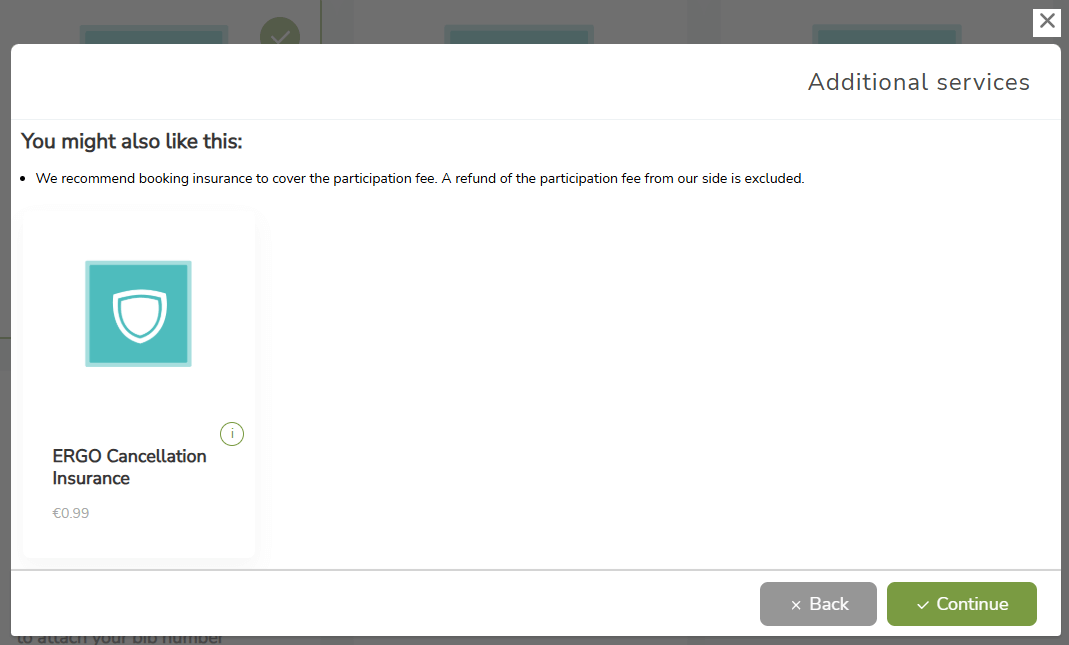
- Insurance
You can get more information about each product by clicking on the “i” icon next to the product title. A pop-up window will open with a more detailed description of the product.
The list of available products varies depending on the event.
Important: Cancellation insurance and the clothing drop off (specific events), which can be selected for some events, can only be booked here during registration. It is not possible to book these two services at a later date.
Once you have made your selection, click on the “Next” button. This button shows the number of products you have selected in brackets. Don't be surprised: the participation fee counts as a separate product. That's why there will always be at least a “1” on the button – even if you haven't selected any other products.
Important: After clicking the button, a pop-up window may appear showing the selected products again. Here you have the option of adding these products to your shopping cart by clicking on the product tile. This step is optional. If you want to skip it, simply click on the “Continue” button.
If you decide to add another product, the pop-up window will close and you will return to the product selection. Click on the “Next” button again.

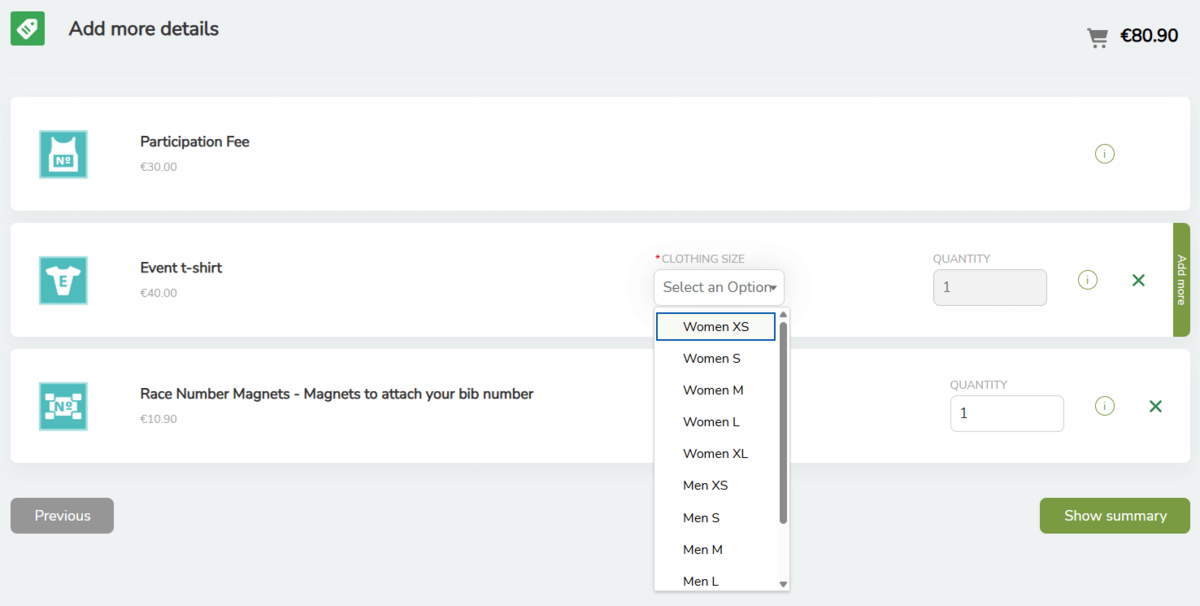
Step 6: Add product details
All selected products are listed on the details screen.
If you have selected products that require further information, this can be entered here. This includes, for example, the desired size of clothing or the quantity you wish to order.
The necessary information is entered in the input fields for the relevant desired products.
Clicking on the “Show summary” button takes you to the next screen, where all selected products and options are listed again.
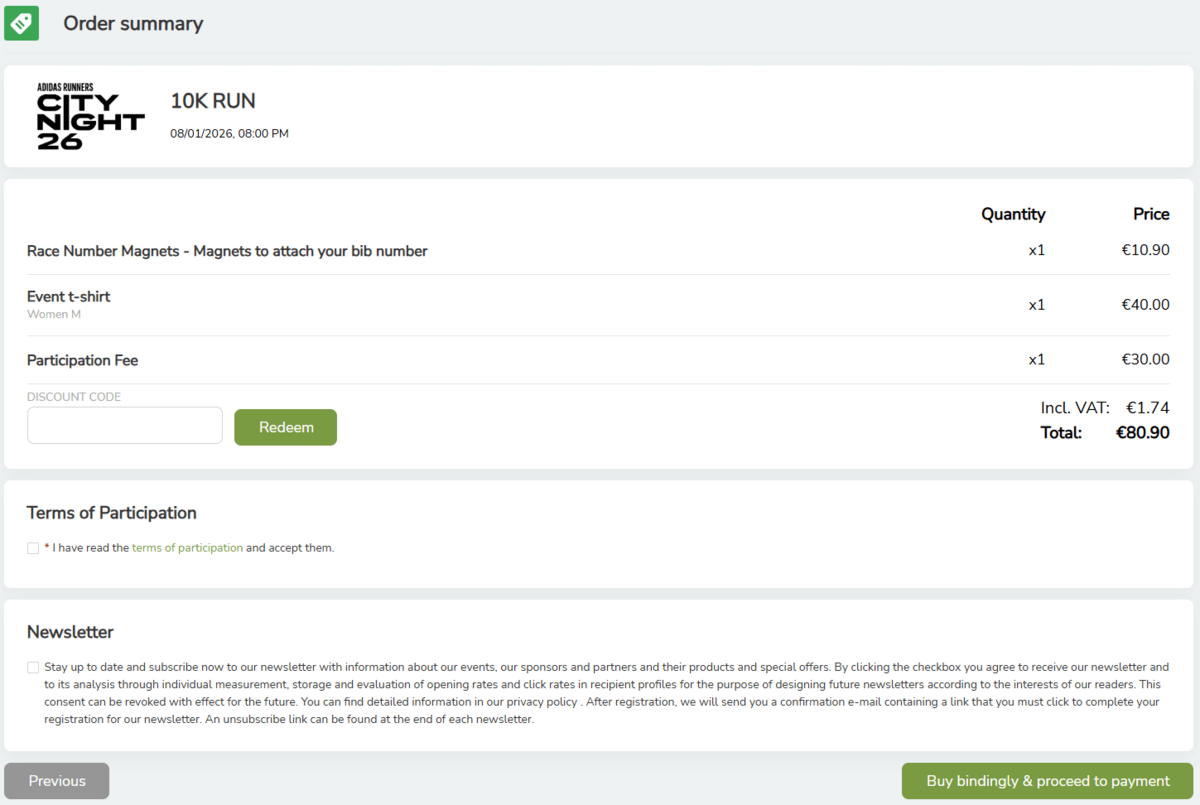
Step 7: Complete registration
In the “Order summary” view, you have the option to redeem discount codes. To do so, fill in the “Discount Code” field and click on the “Redeem” button next to the input field.
Before you can complete your order, you must accept the terms and conditions.
Depending on which products you have selected, you may need to accept several terms and conditions. For example, insurance requires separate confirmation. In all cases, the terms and conditions are accepted by checking a box with the relevant label and a red asterisk.
After confirming all required fields, you can complete your registration by clicking on the “Buy bindingly & proceed to payment” button. After this step, your registration is binding and must be completed and paid for.
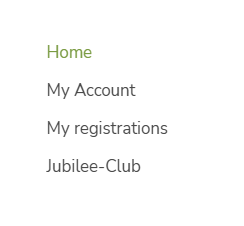
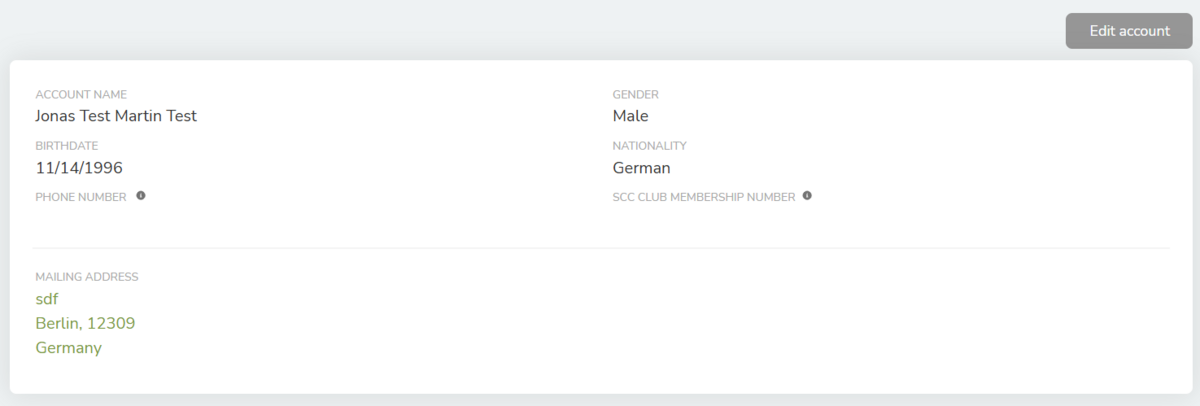
Manage my account
You can adjust some settings and data yourself via the “My Account” tab.
You can adjust the settings for your specific registrations via the “My registrations” tab. More on this in a moment.
If you made a mistake when entering your name or date of birth during registration, we will be happy to correct it for you. Simply contact us using our contact form and we will update your data. Go to the contact form here.
Please note: It is not possible to swap participants (complete name change)!
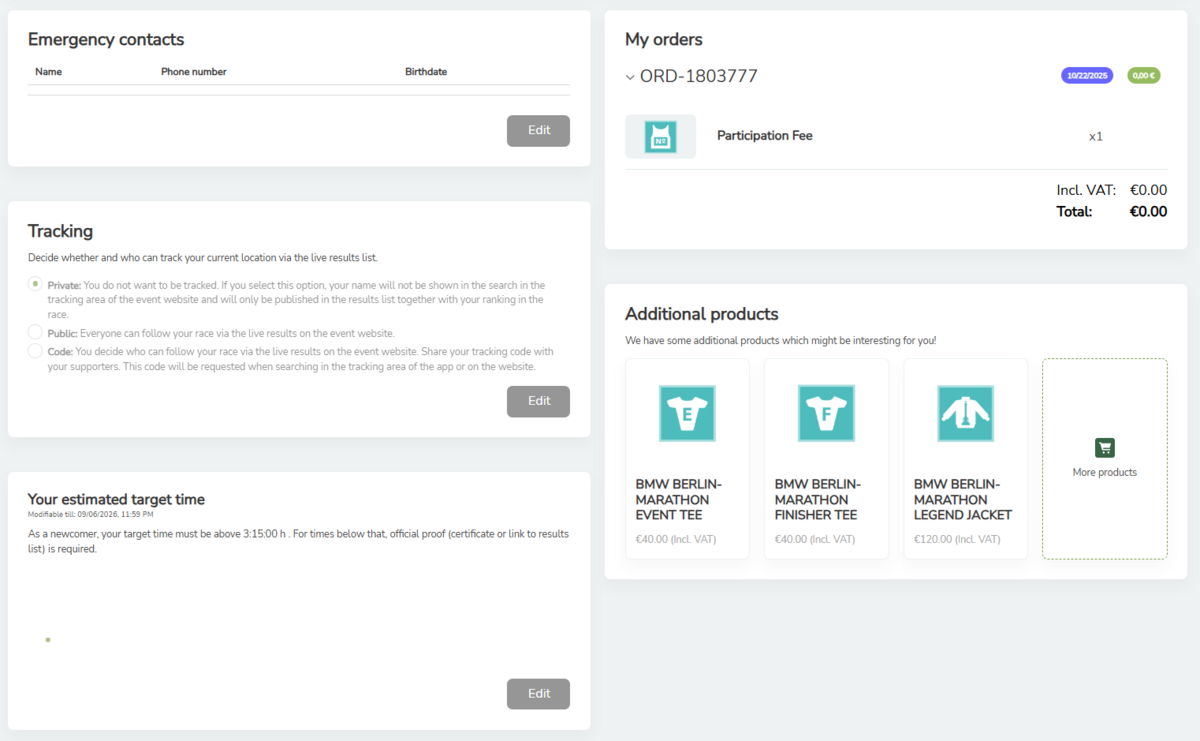
Adjustments and additional bookings
After successfully registering for an event, you can make a few adjustments in your user account. To do so, navigate to the “My registrations” menu item. There you have the option to adjust the following:
- Book additional services
- Enter or change your emergency contacts
- Add or edit your club
- Edit your tracking selection
- Update your personal best
Please follow the instructions on the platform.
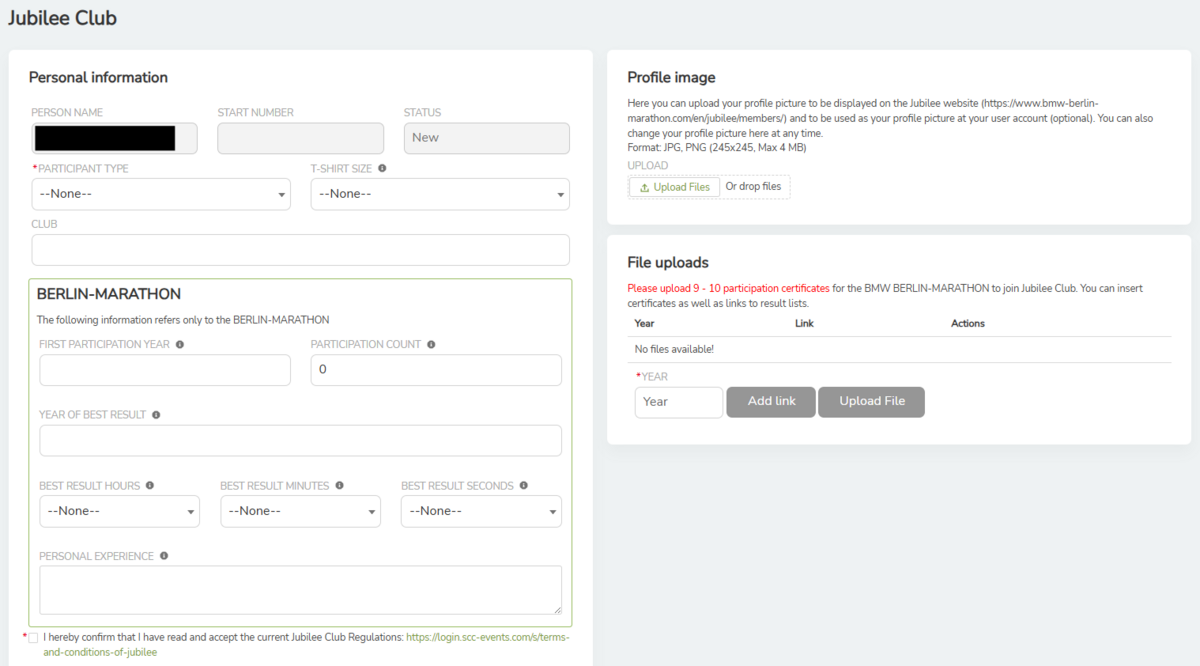
Jubilee-Club
Under the “Jubilee-Club” tab, you will find:
- the opportunity to apply for the Jubilee Club.
- permanent access to your Jubilee data → This allows you to change or update your details, such as your best time, best experience, or club, at any time and upload a profile picture.
You can find more information about the Jubilee-Club at https://www.bmw-berlin-marathon.com/anmelden/jubilee.